
Manually installing a WordPress plugin is often recommended, especially for custom or premium plugins that are not available in the WordPress Plugin repository. This method gives you greater control over your website, allowing you to tailor its functionality to your specific needs.
This guide will walk you through the manual plugin installation process. How to Install a WordPress Plugin.
How to Install a WordPress Plugin Manually
Step 1: Download the Plugin
- Download the plugin from the source, typically provided as a .zip file containing all necessary plugin files.
- Save the .zip file in an easily accessible location on your computer, such as your desktop or a dedicated folder for website resources.
Step 2: Access the WordPress Dashboard
3. Open your web browser and go to yourwebsite.com/wp-admin. Log in with your username and password.
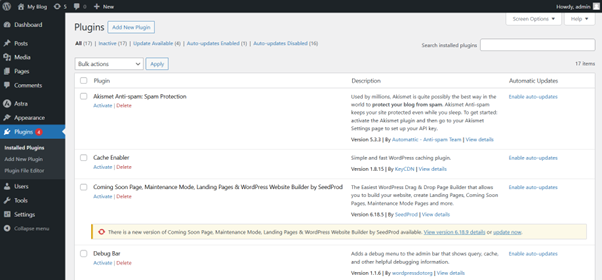
4. In the left-hand menu, hover over Plugins and click Add New to open the plugin management page.
Step 3: Upload the Plugin
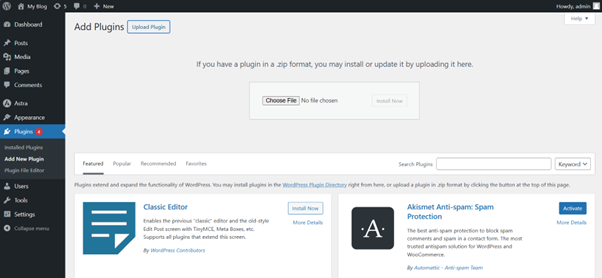
5. At the top of the Add Plugins page, click Upload Plugin.
6. Click Choose File, navigate to the .zip file, select it, and click Open.
7. Click Install Now. WordPress will upload and install the plugin automatically.
Step 4: Activate the Plugin
8. Once installation is complete, a success message will appear with an Activate link. Click Activate to enable the plugin.
9. Configure the plugin as needed via its settings page, usually found under the Settings menu or in the plugin’s dedicated menu in the Dashboard.
Step 5: Verify Installation
10. Visit your website to ensure the plugin is functioning correctly and displays as expected.
11. If issues arise, consult the plugin’s documentation or support. Premium plugins often provide dedicated support channels.
You can also follow our YouTube tutorial: Power Up Your Site: How to Install a WordPress Plugin Manually.
Additional Information: WordPress Plugin Best Practices
Back Up Your Website
Always back up your site before adding new plugins to prevent potential issues.
Check Compatibility
Ensure the plugin is compatible with your WordPress version and other installed plugins.
Read Reviews and Ratings
Evaluate the plugin’s quality and support by reviewing user ratings and feedback.
Keep Plugins Updated
Regularly update plugins to benefit from the latest features and security improvements.
Deactivate & Delete Unused Plugins
Remove plugins that are no longer in use to reduce clutter and security risks.
Test After Installation
Test your website thoroughly after activating plugins to check for conflicts or issues.
Use Reliable Sources
Download plugins only from reputable developers or the official WordPress repository to minimize security risks.
Monitor Performance
Some plugins can affect website speed; monitor performance after installation.
Understand Plugin Settings
Familiarize yourself with each plugin’s options to maximize its functionality.
Login Methods
Log in to tandohost.co.za Account
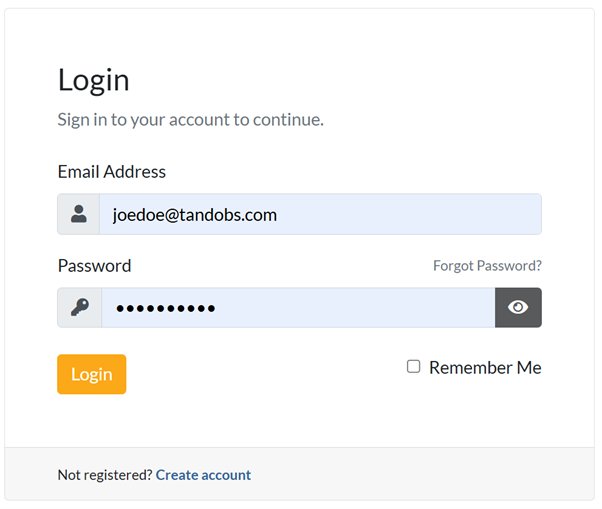
- Go to the tandohost.co.za Login Page. Login - TandoHost
- Enter your email and password, then click Sign In.
Access WordPress via cPanel
- Under Product/Services, click Login next to WordPress.

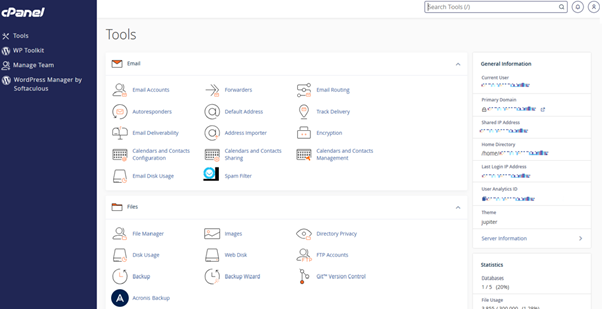
2. On the cPanel dashboard, select WP Toolkit or WordPress Management.
Access WordPress Online via cPanel
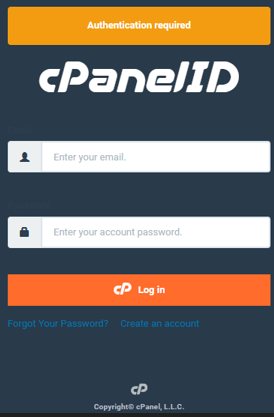
- Visit your cPanel login URL.
- Enter your email and account password, then click Log In.
3. Once logged in, select WP Toolkit or WordPress Management from the right-hand menu.

