Managing MX Records for Your Domain
MX (Mail Exchange) records direct emails sent to your domain to the correct mail servers. Proper MX record management ensures your email functions reliably, whether you use Tanddobs.com hosting or third-party providers such as Google Workspace or Microsoft 365.
With tandohost.co.za Web Hosting and cPanel, you can easily add, modify, or remove MX records to control your email routing.
How to Manage MX Records in cPanel
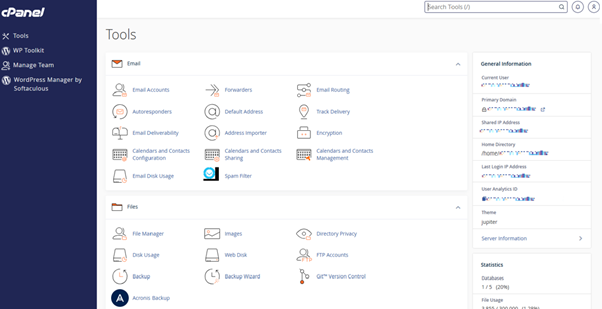
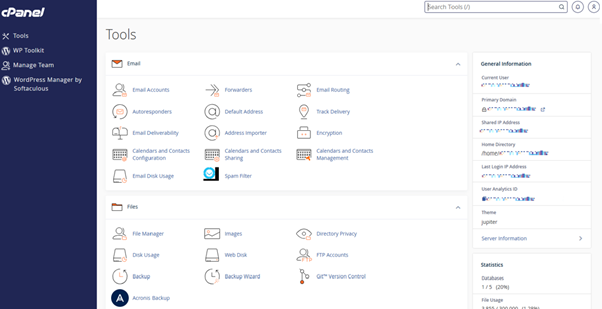
This guide assumes you’re already logged into your tandohost.co.za account and have accessed the cPanel dashboard. Login - TandoHost
- Access the Zone Editor
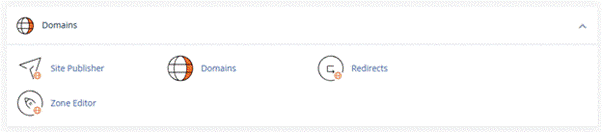
- In the cPanel Dashboard, scroll down to Domains and click Zone Editor.
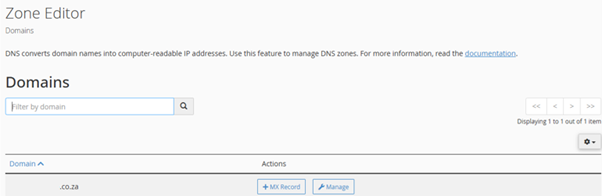
- Locate your domain and click Manage.
- Edit an Existing MX Record
- Find the MX record you want to update and click Edit next to it.
- Add a New MX Record
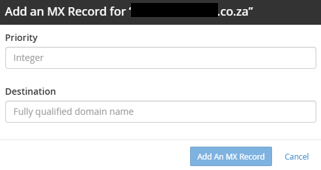
- Click + Add Record and select MX from the dropdown.
- Enter the Priority and Destination (mail server) information.
- Click Save Record to apply your changes.
- Delete an MX Record
- Click Delete next to the record you want to remove and confirm.
MX Records Explained
What are MX Records?
MX records are DNS entries that tell the internet which mail servers handle email for your domain.
Why Priority Matters
Lower numeric values indicate higher priority. Emails are routed to the server with the lowest priority number first.
Key Tips for MX Records
- Use the Correct Mail Servers: For third-party email services (e.g., Google Workspace), use their MX values exactly.
- Propagation Time: Changes can take up to 24 hours to take effect.
- Backup Current Settings: Record existing MX values before making changes.
- Test Email Delivery: Verify functionality by sending and receiving emails.
- SPF, DKIM, & DMARC: Correct MX records work alongside these records to improve deliverability and security.
- Multiple MX Records: Provides redundancy if one server goes offline.
- Check for Conflicts: Avoid overlapping records to prevent delivery issues.
- Support: Contact tandohost.co.za support if you’re unsure of the correct MX settings.
Logging into Your tandohost.co.za Account
1. Open the tandohost.co.za login page in your web browser. Login - TandoHost
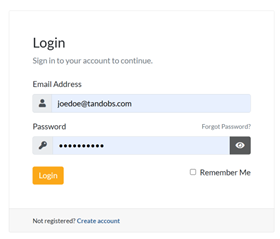
2. Enter your registered email address and password, then click Sign In.
3. Once logged in, you’ll see the tandohost.co.za dashboard. Navigate to Active products/services and log in to cPanel

4. You will now be taken to the cPanel Dashboard, where you can manage all aspects of your website.