
Sometimes, when troubleshooting issues, applying updates, or fixing problems on your WordPress website, conflicts can occur with installed plugins. In such cases, you may need to update or reinstall the plugin manually. If the usual methods don’t work, a forced update or reinstallation might be necessary. This guide will walk you through the process step-by-step.
How to Force Update WordPress Plugins
Method 1: Manual Update via WordPress Dashboard
- Backup Your Site: Always create a full backup of your WordPress files and database before making any changes.
- Download the Latest Plugin Version: Get the updated .zip file from the WordPress plugin repository or the developer’s site.
- Deactivate the Old Plugin: In your dashboard, go to Plugins > Installed Plugins, locate the plugin, and click Deactivate.
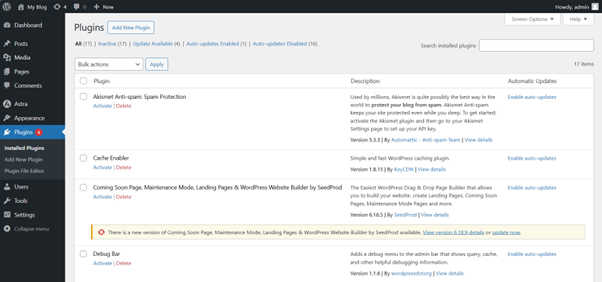
4. Delete the Old Version: After deactivating, click Delete to remove the outdated plugin.
5. Upload and Install the New Version:
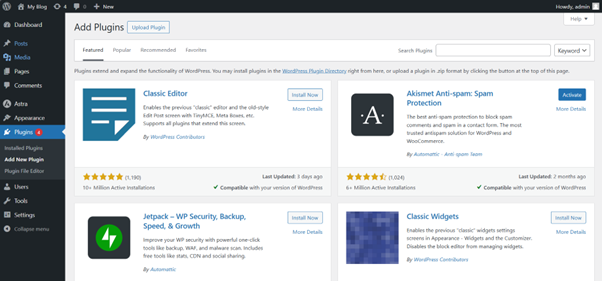
- Go to Plugins > Add New, then click Upload Plugin.
- Select the .zip file you downloaded and click Install Now.
6. Activate the Plugin: Once installed, click Activate to enable the updated plugin.
Method 2: Manual Update via FTP
- Backup Your Site before proceeding.
- Download the Latest Plugin Version from the official source.
- Connect via FTP using a client like FileZilla and navigate to /wp-content/plugins/.
- Delete the Old Plugin Folder for the plugin you want to update.
- Upload the New Version: Extract the downloaded .zip file and upload the new folder to /wp-content/plugins/.
- Activate the Plugin in your WordPress dashboard under Plugins > Installed Plugins.
How to Force Reinstall WordPress Plugins
Method 1: Reinstall via WordPress Dashboard
- Backup Your Site before proceeding.
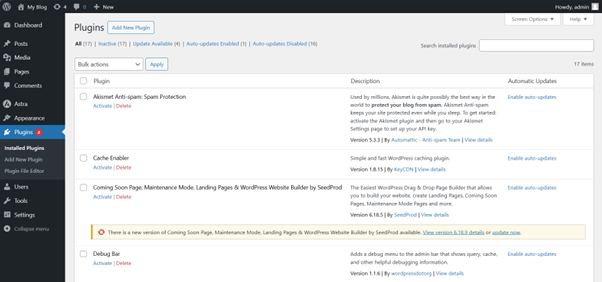
- Deactivate the Plugin under Plugins > Installed Plugins.
- Delete the Plugin from the Installed Plugins list.
- Reinstall the Plugin:
- Go to Plugins > Add New.
- Search for the plugin in the repository or upload the .zip file.
5. Activate the Plugin after installation.
Method 2: Reinstall via FTP
- Backup Your Site and Database.
- Download the Latest Plugin Version.
- Connect via FTP and go to /wp-content/plugins/.
- Delete the Existing Plugin Folder.
- Upload the New Plugin Folder extracted from the .zip file.
- Activate the Plugin from the WordPress dashboard.
Additional Information: Common Pitfalls
- Skipping Backups: Always back up before making changes.
- Ignoring Compatibility: Ensure the plugin works with your current WordPress version and other plugins.
- Overwriting Settings: Reinstalling may reset settings. Reconfigure after installation.
- Not Testing in Staging: Avoid making changes directly on the live site. Test in a staging environment first.
Accessing WordPress from Your tandohost.co.za Account
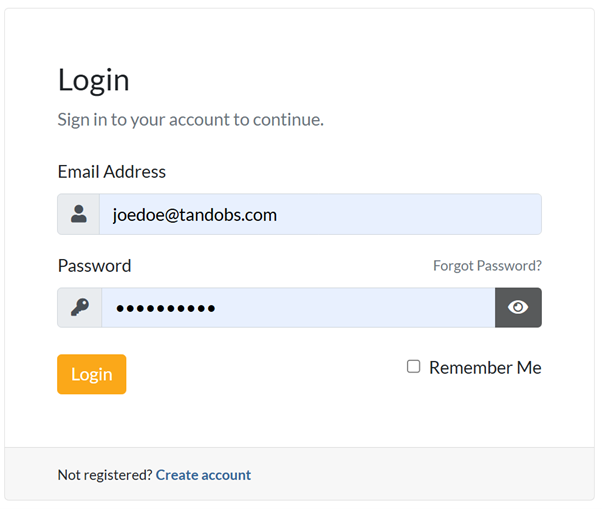
Log in to Your Account
- Go to tandohost.co.za Login page. Login - TandoHost
- Enter your Email and Password, then click Sign In.
Access WordPress via cPanel
- From Product/Services, click Login to Control Panel.

2. In cPanel, select WP Toolkit or WordPress Management.
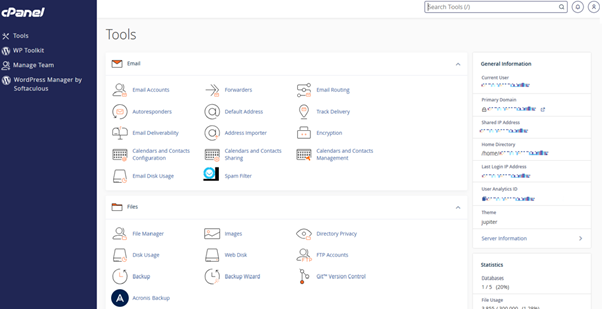
3. In cPanel, select WP Toolkit or WordPress Management.
Access WordPress Online via cPanel
- Go to your cPanel Login URL.
- Enter your credentials and click Log In.
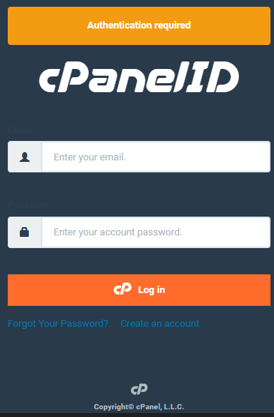
3. Navigate to WP Toolkit or WordPress Management in the dashboard.

